
MECCA Educator Talent Portal: Talent Manager
Overview of Positions on Welcome Screen
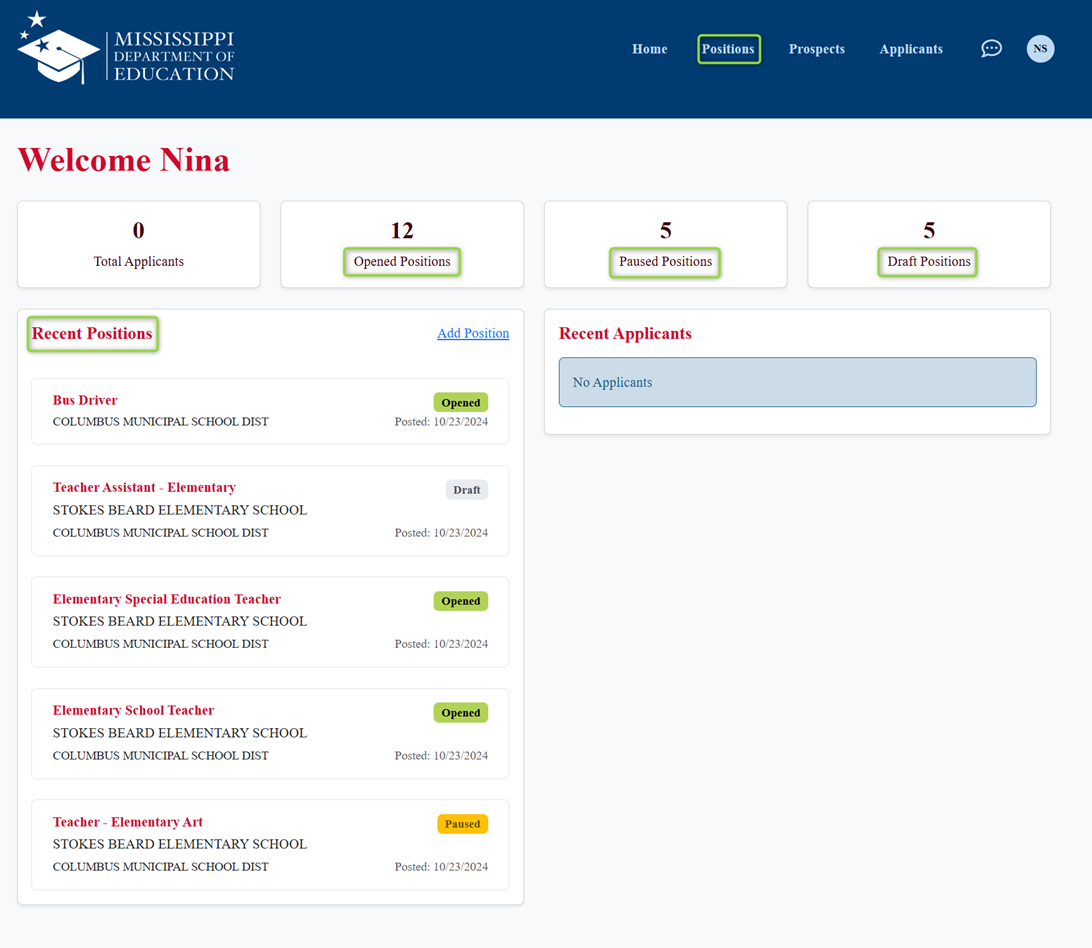
Talent Managers can view all positions as well as create, draft, pause, or close positions.
From the Welcome screen, there are multiple ways to navigate to each of these areas.
At the top of the screen, there is a link to all positions. Below that, there is a breakdown of Open, Paused, and Draft positions. On the left side of the screen, the most recent positions are listed.
Viewing All Positions
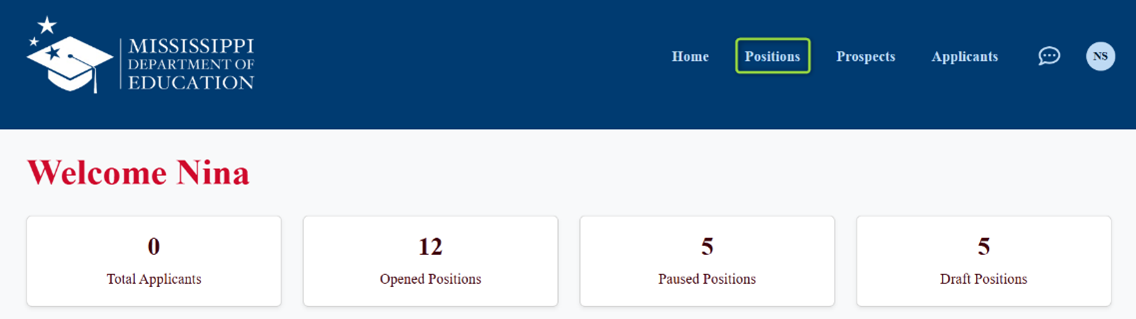
To view all positions, click the Positions link found at the top of the screen.
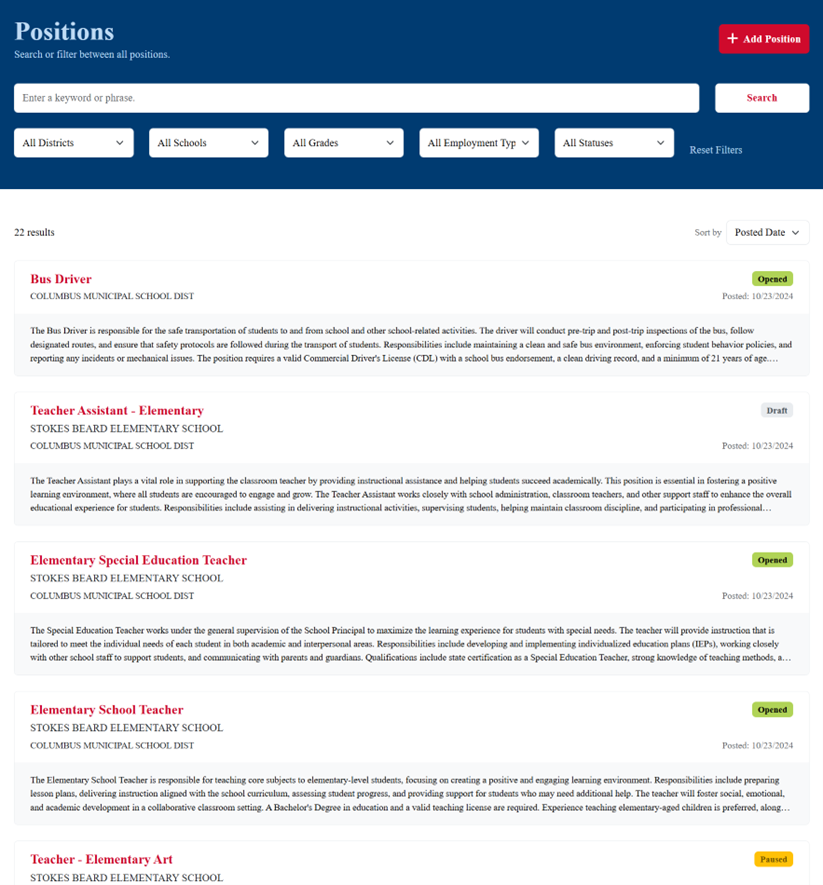
This will display all positions that have been created in the district, no matter what the current status of the position may be. Use the Search field and dropdowns to filter results.
Adding a Position and Changing Position Status
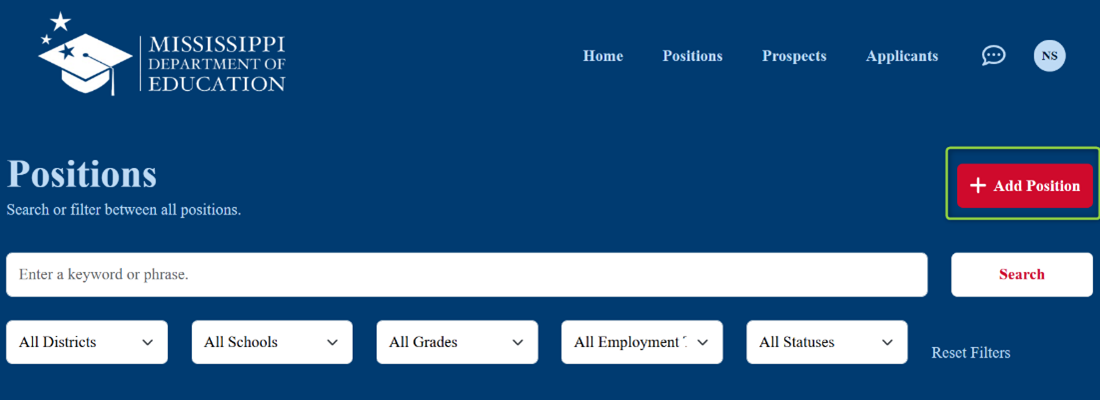
New positions can be added by clicking the red, + Add Position button on the Positions screen.
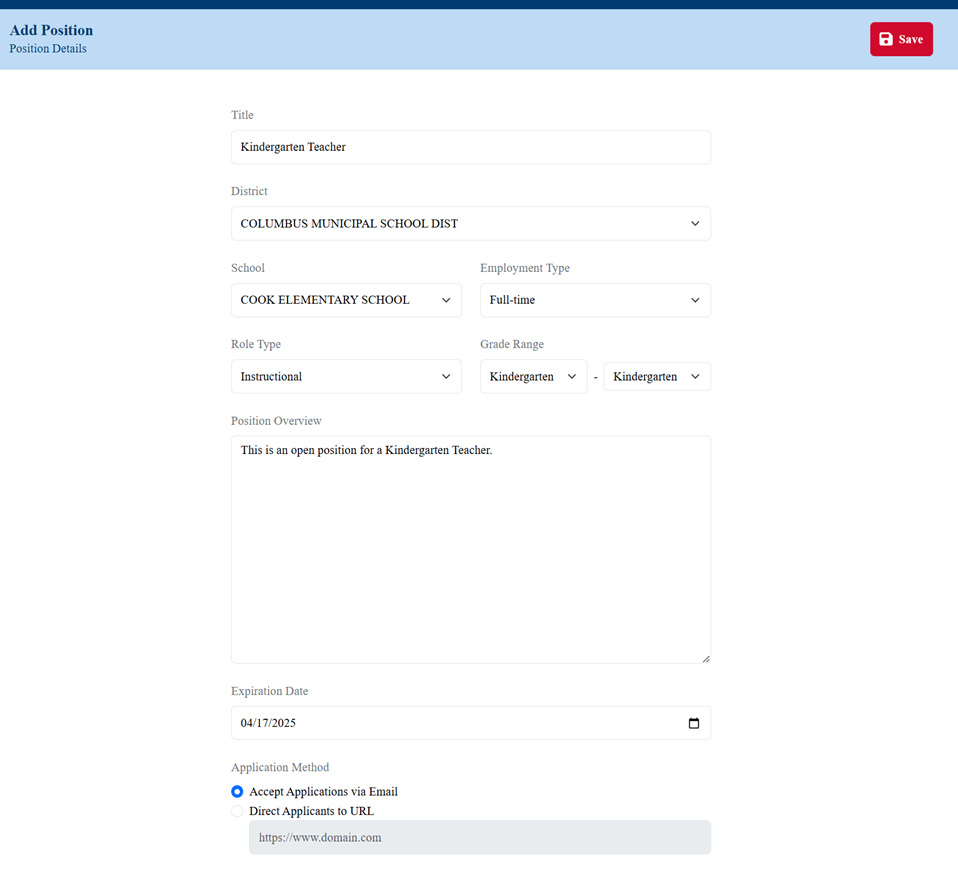
From the Add Position screen, add all of the information for the position.
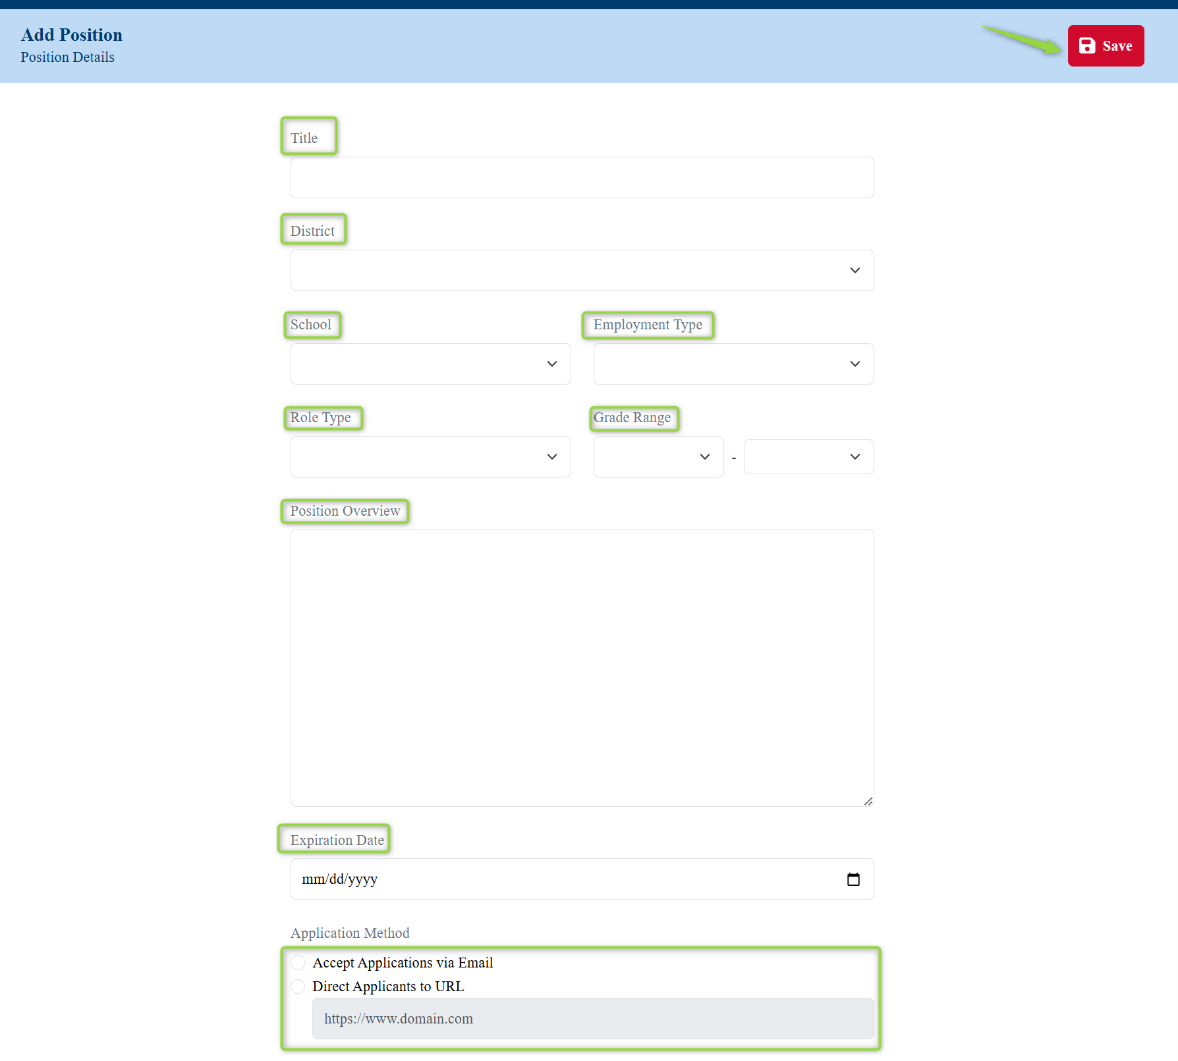
For the Application Method, there is the option to accept applications via email or to direct applicants to another URL, such as a direct link to the district HR system, for example.
Once all information has been added, click Save.
The newly created position will now show up with a Draft status.
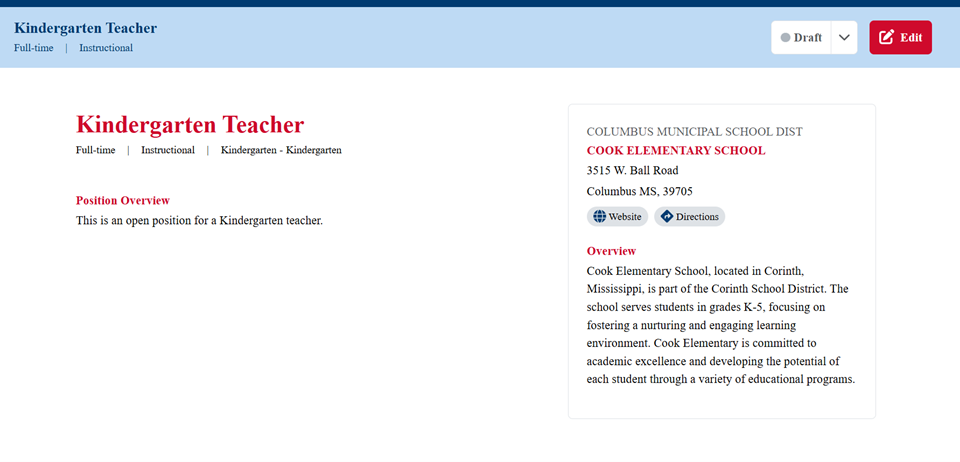
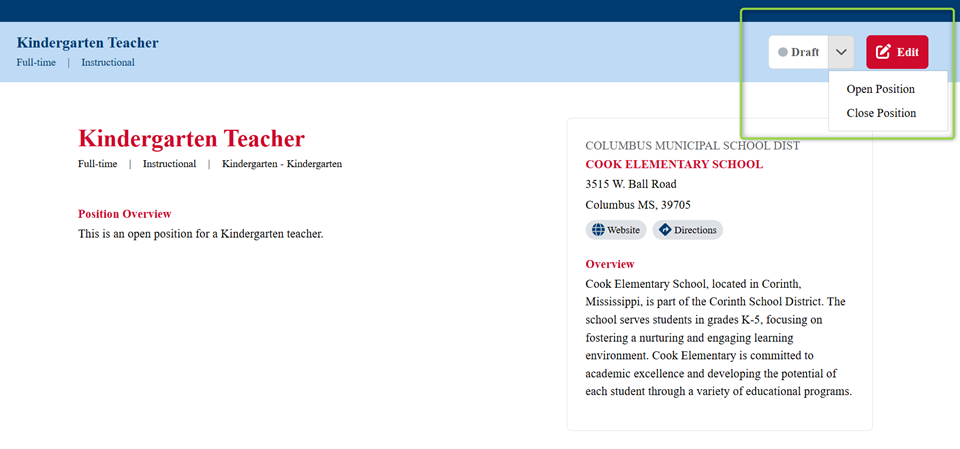
From here, additional edits can be made if desired. Once the position is ready to be posted, change the status from Draft to Open using the dropdown option.
A box will pop up asking to confirm that the status will be changed to Open. Click Cancel to return to the Draft or click Confirm to continue.

The position status will now be changed to Opened, and the position will be available for potential applicants to find in their search.
Once a position is Opened, it can also be changed to a Closed or Paused status.
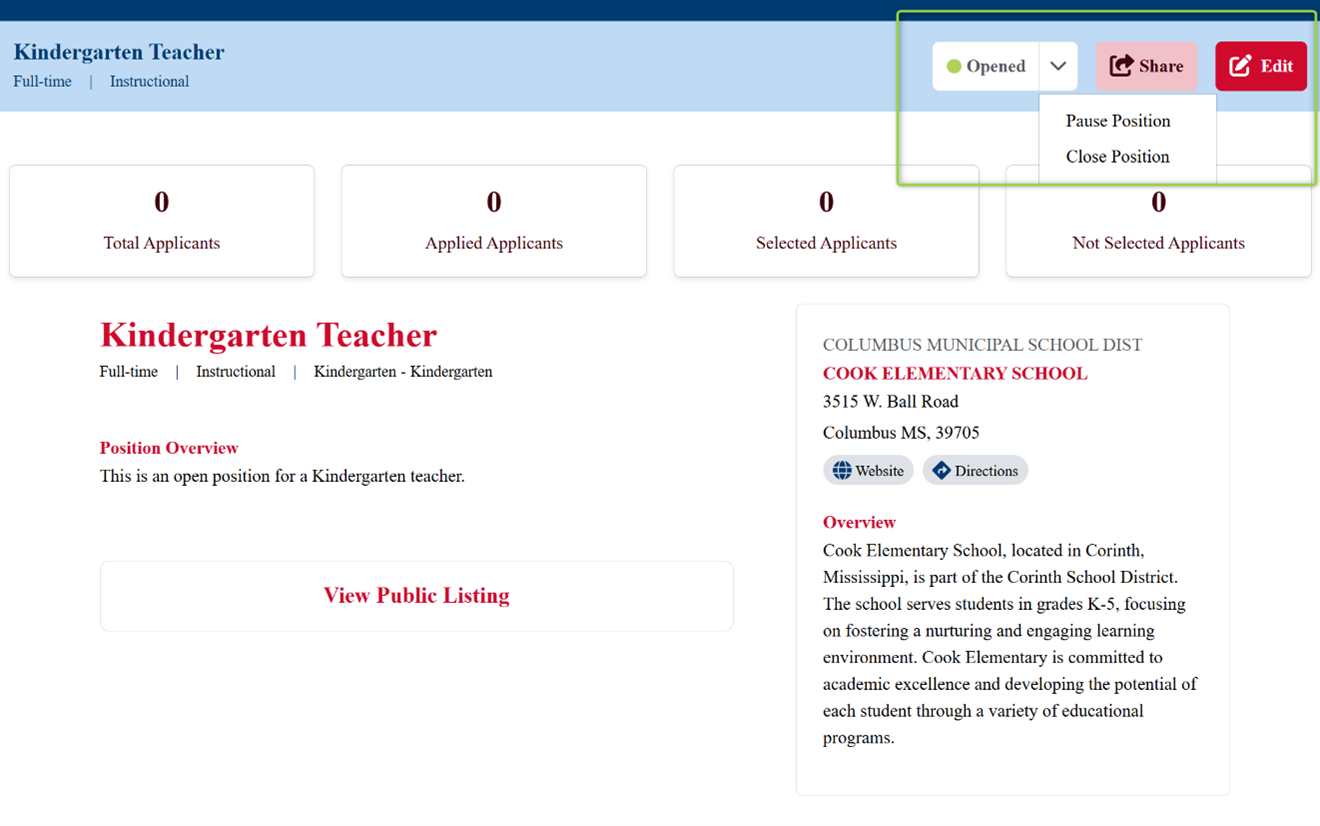
A Closed status is typically used when a position has been filled. A Paused status may be used when the position has not yet been filled but the first round of applications is actively being reviewed. In a Paused status, the position is not available to prospective applicants.
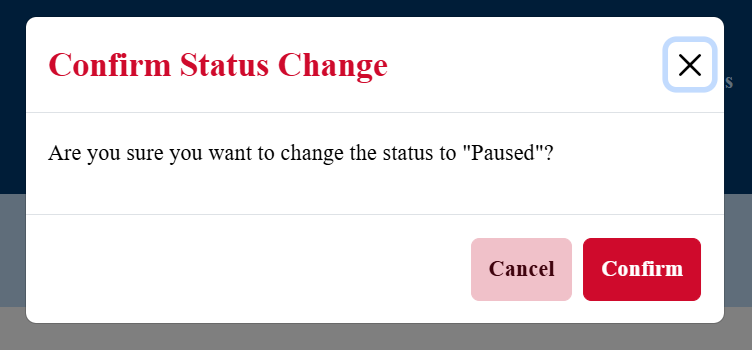
A confirmation box will pop up asking to confirm the status to which the position is being changed. Click Cancel to return to the position or Confirm to continue with the status change.
Viewing Open Positions and Associated Applicants
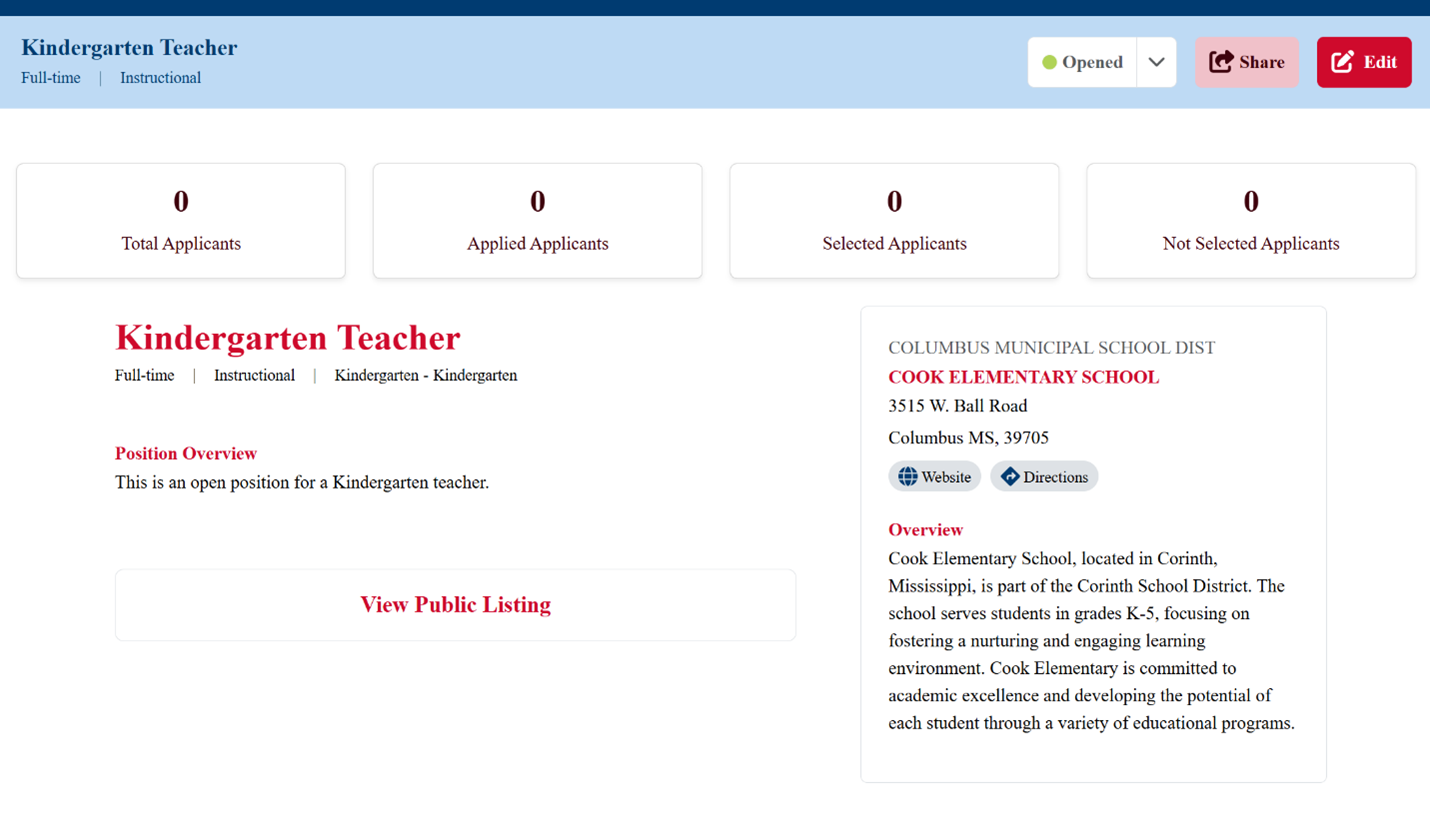
To view each position further, click on the position listing.
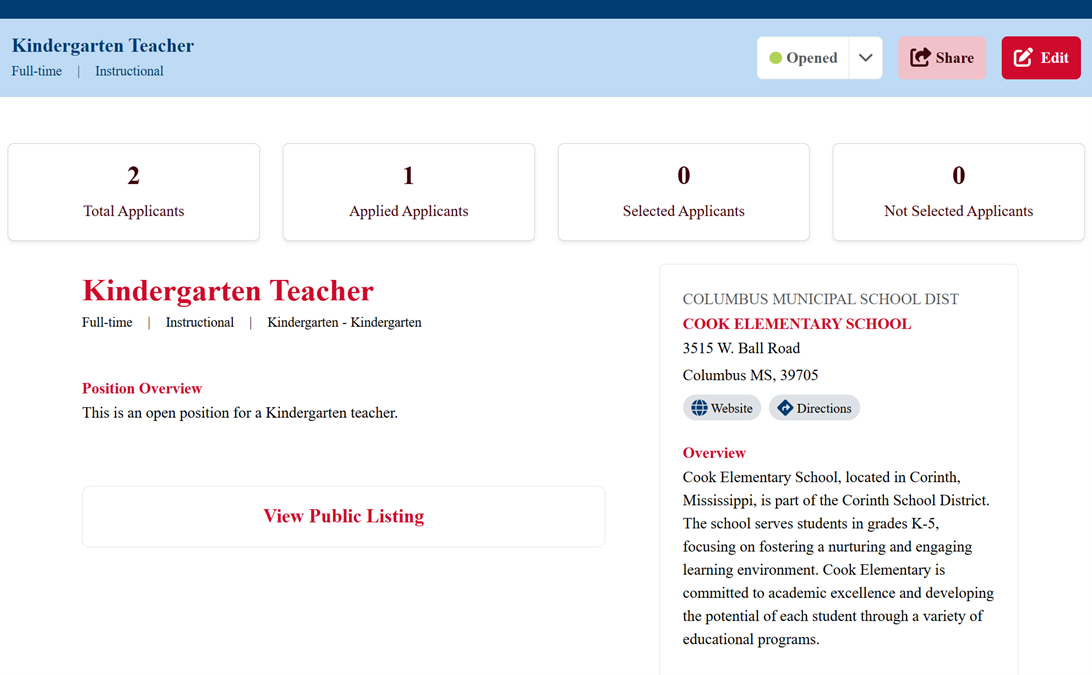
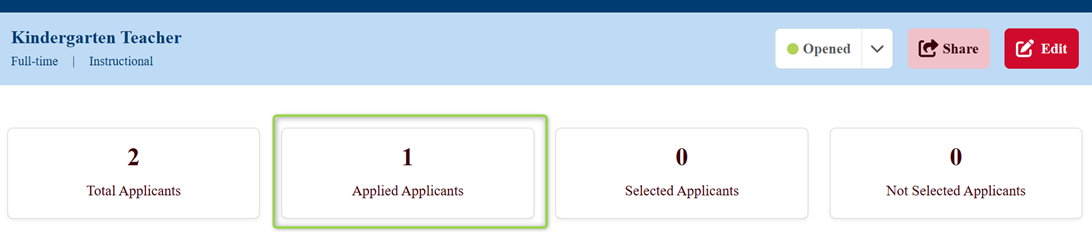
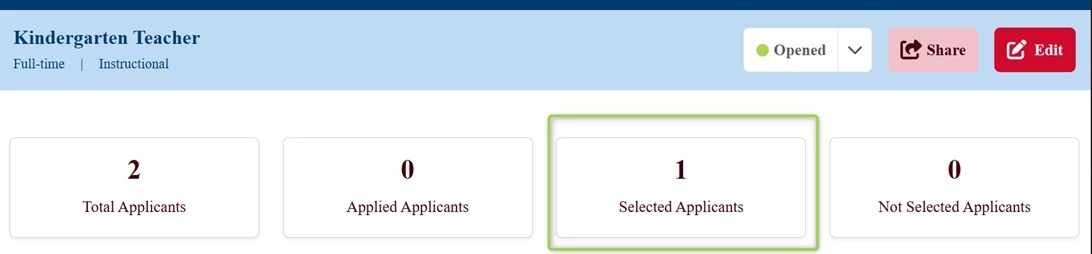
For Opened Positions, the number of applicants who have applied for the position will be listed above the position listing, as well as a breakdown of each status for the position.
To view the applicants that have applied, click on the Applied Applicants section.
This will display a list of all applicants who have applied for the position.

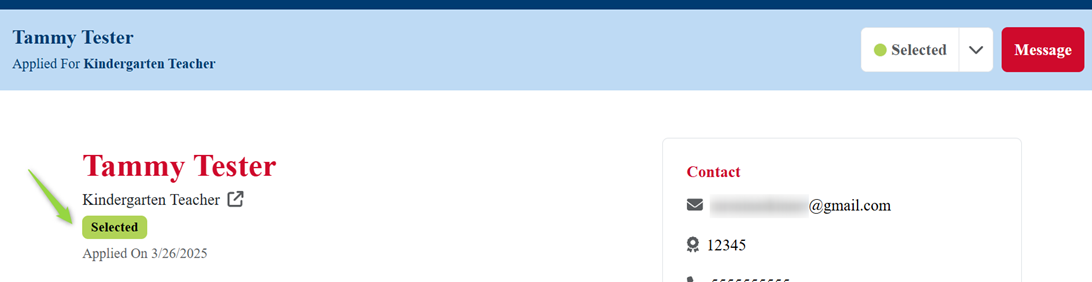
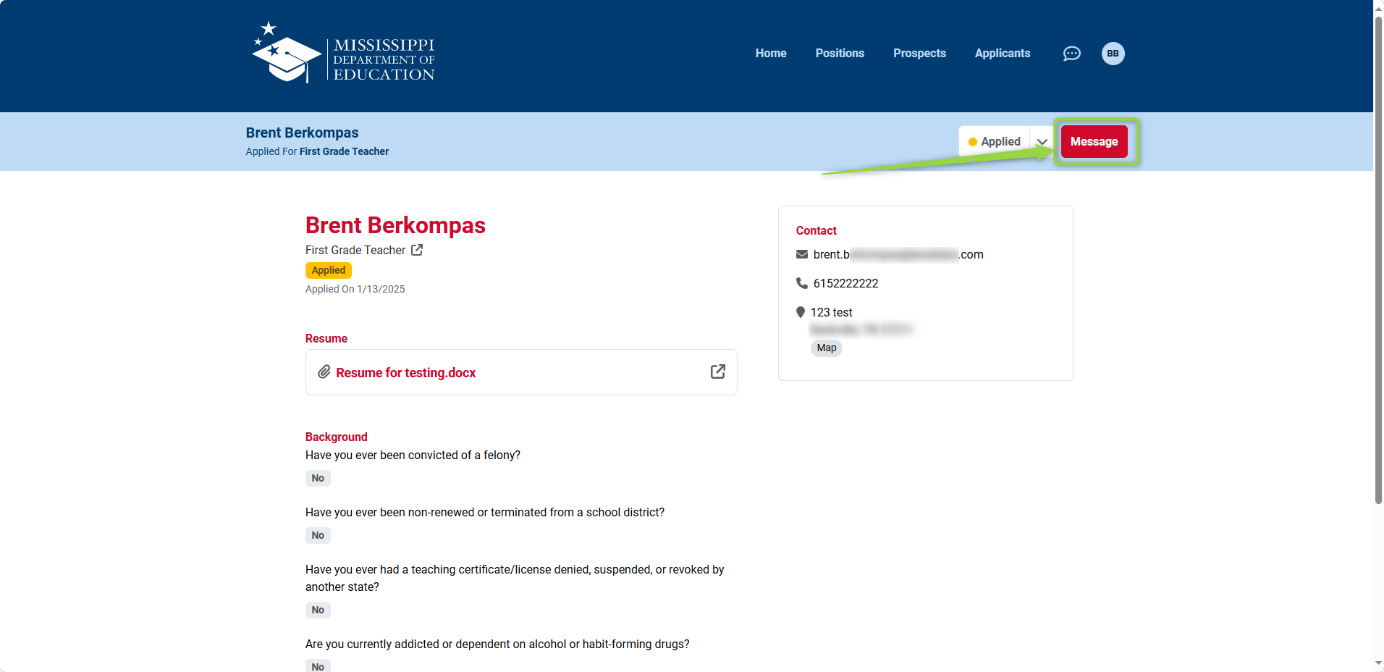
Click on the applicant’s name to view their application information.
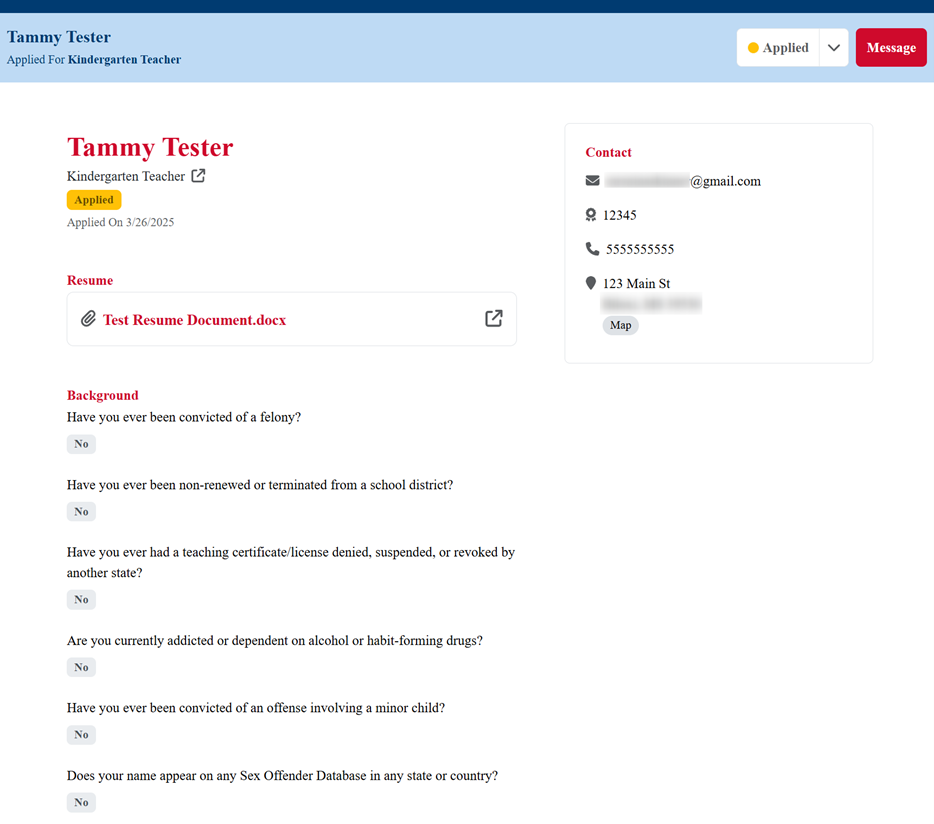
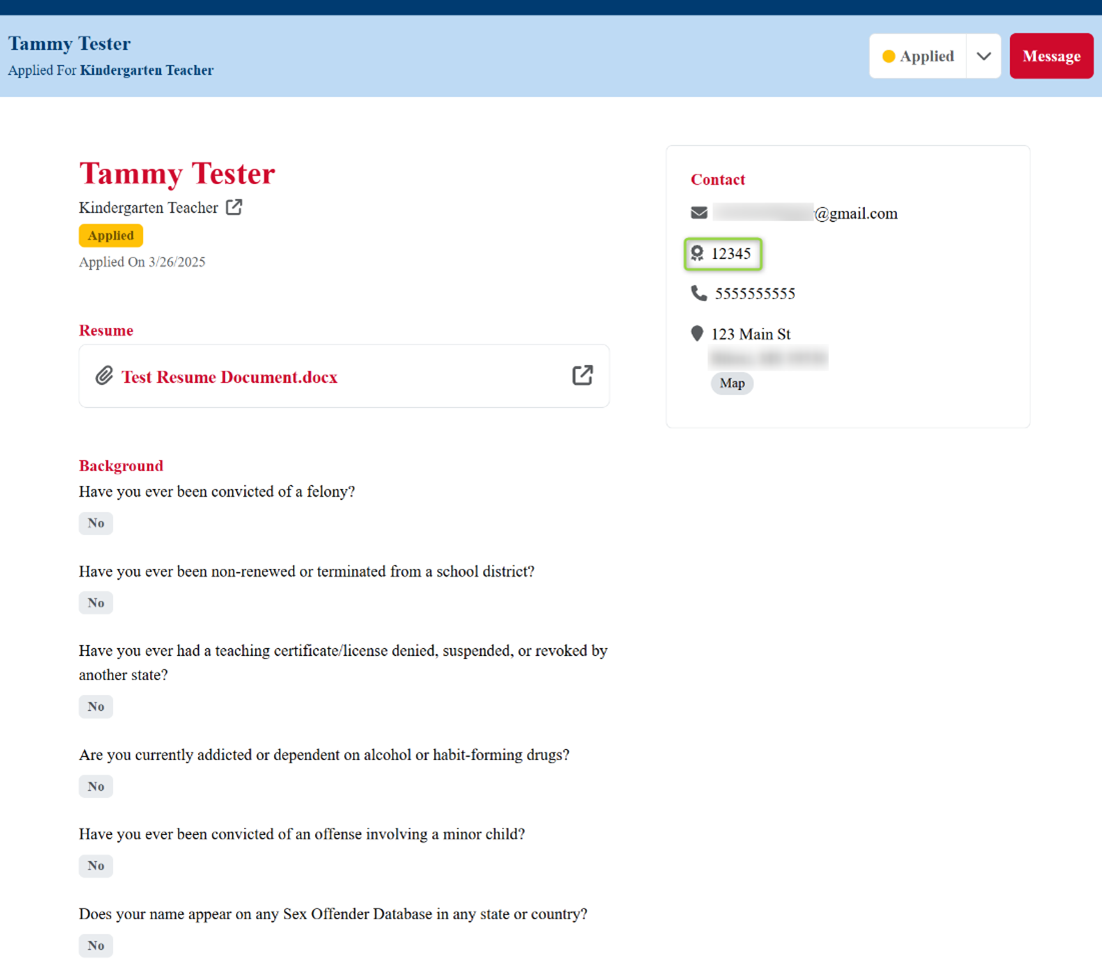
Under the applicant’s Contact information, you’ll see their Mississippi Educator License ID Number, if they have chosen to add it to their profile. If you click on their Mississippi Educator License ID Number, you will be taken to the MECCA Licensure System.
Once the application has been reviewed, the status of the application can be updated to Selected or Not Selected.

A confirmation message will pop up to confirm that the status chosen is the desired status. Click Confirm to proceed or Cancel to go back to the applicant.
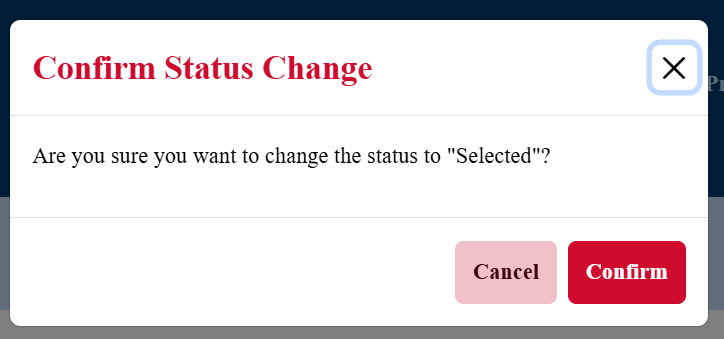
Once the status is confirmed, the status will be reflected on the application and a message will be sent to the applicant with the status update.
When navigating back to the open position, the count for applications will now reflect the change in application status that was just made.
Searching for and Viewing Prospects
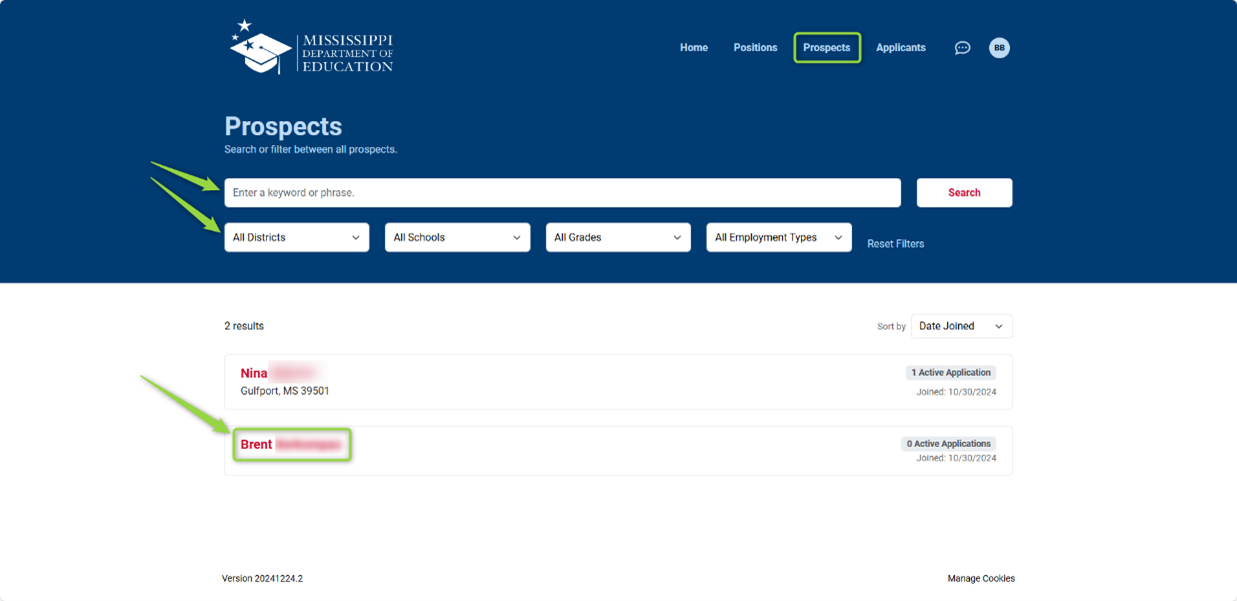
You may also use the system to search for Prospects for your open positions. For prospects to appear in this search, they must have already indicated on their profile preferences that they are open to working for your district or school.
Navigate to the Prospects section of the site at the top of the page. Use the Search field and other dropdown filters to narrow your results. Click on the name of a Prospect to open and view more information about their profile and preferences.
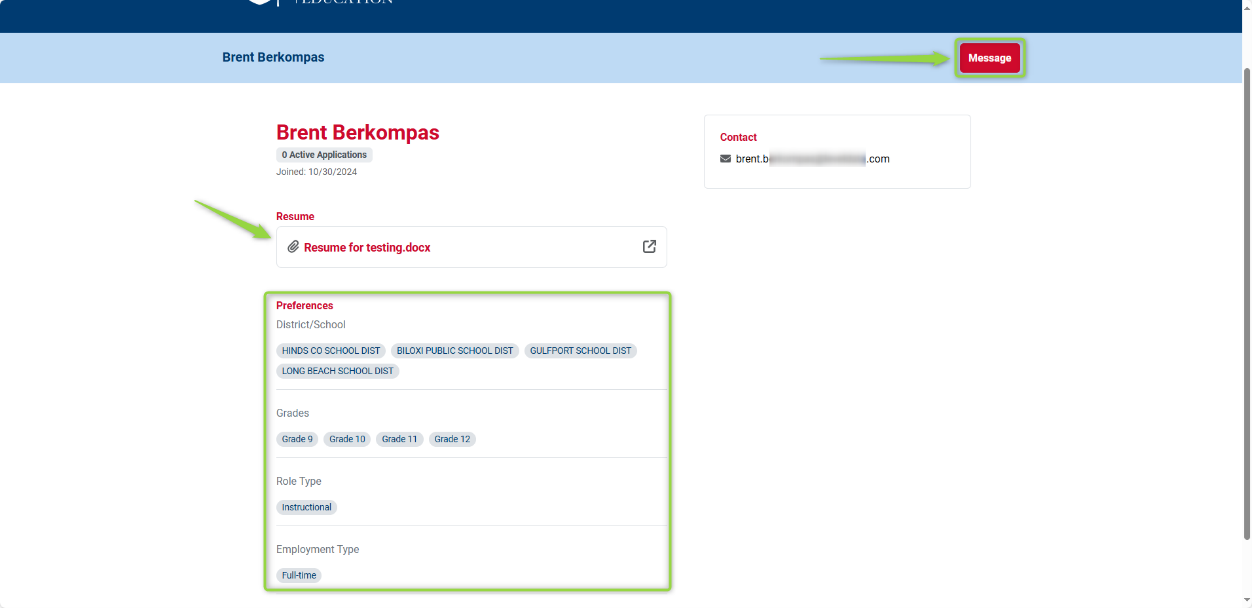
Once a Prospect has been opened, you will be able to view a Resume if they have attached one to their profile. You will also see the Prospect’s Preferences, which gives you more information about the location and type of role they may be interested in.
Messaging Applicants and Prospects within the system
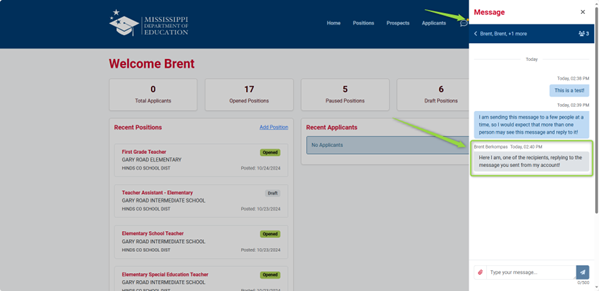
*Important – Any messages sent to multiple recipients at the same time will be sent as a group message and not to each recipient individually. However, when users reply to a group message, their reply will only go to the person who initiated the conversation.
There are a few different methods you may use to send messages to Applicants or Prospects. As shown on the previous page, there is a red Message button which will start a message to the Prospect whose page you were viewing. You may also use the red Message button available when viewing an application to message that Applicant.
You may add more recipients here or only message the single prospect or applicant.
You may also use the message icon button on most other pages to start the messenger.
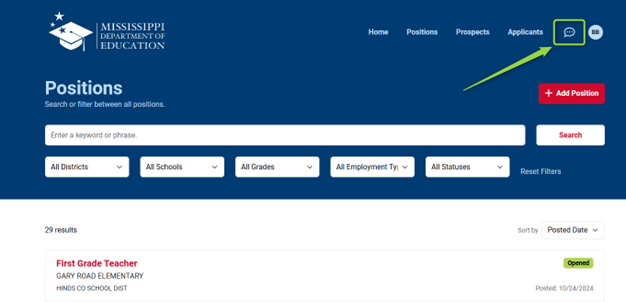
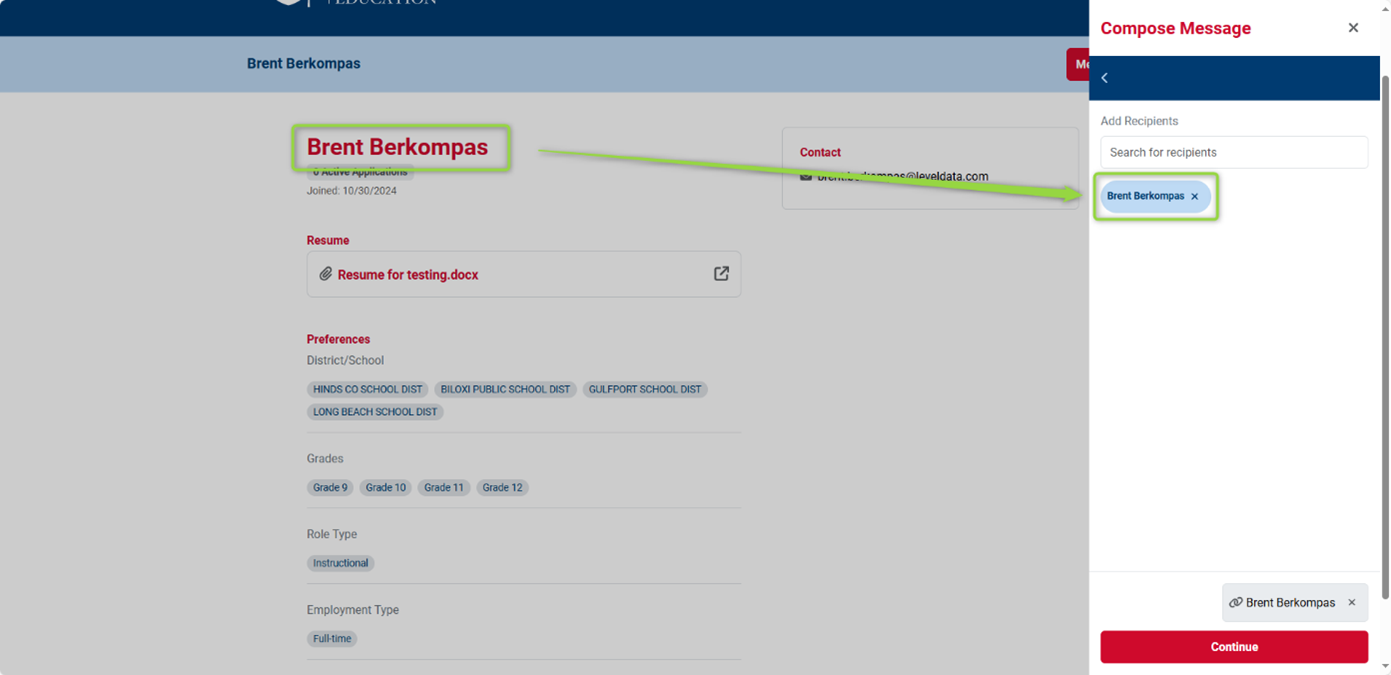
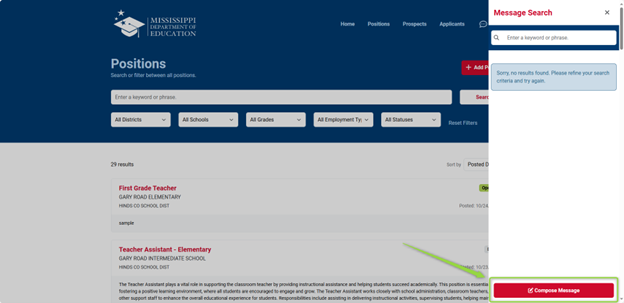
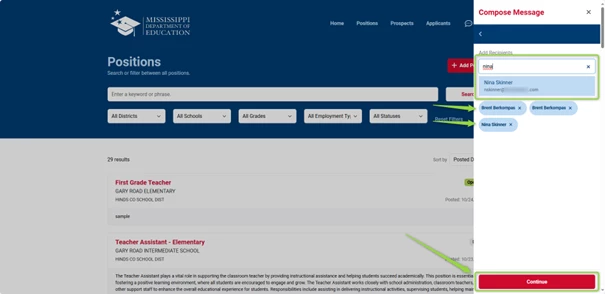
This will start the messenger, where you may click Compose Message to start a new message. If you have any existing or new messages, they will also appear here when you open messenger.
Use the Add Recipients field to search for users by name, making sure to note the email address associated with each person in case there are educators with the same name.
Each person selected will appear in a blue bubble below the search field before clicking Continue at the bottom once all recipients are selected for the message.
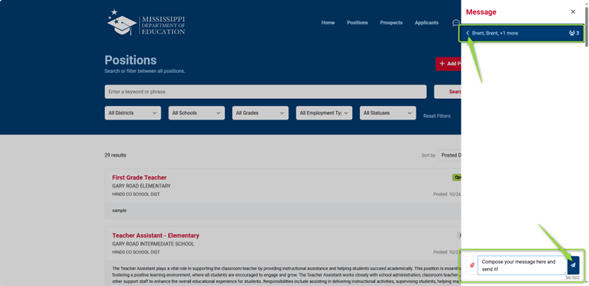
On the next screen, you may see some information about how many recipients are selected and can use the back arrow next to them to go back to the previous screen and change the recipients.
Compose your message in the text box at the bottom of the messenger pane and use the red paper-clip to add attachments, if needed. Then click the Send icon button when ready to send your message.
New messages will be indicated by a yellow notification dot next to the messenger icon, and you may click to open a message and view any replies.
After messages are sent, users will receive reminder notifications via email that they have a new message available to view.
Inviting New Users
To invite a new User to the ETP, click on the gear icon settings button in the upper right of the screen, then click on the Users link that appears.
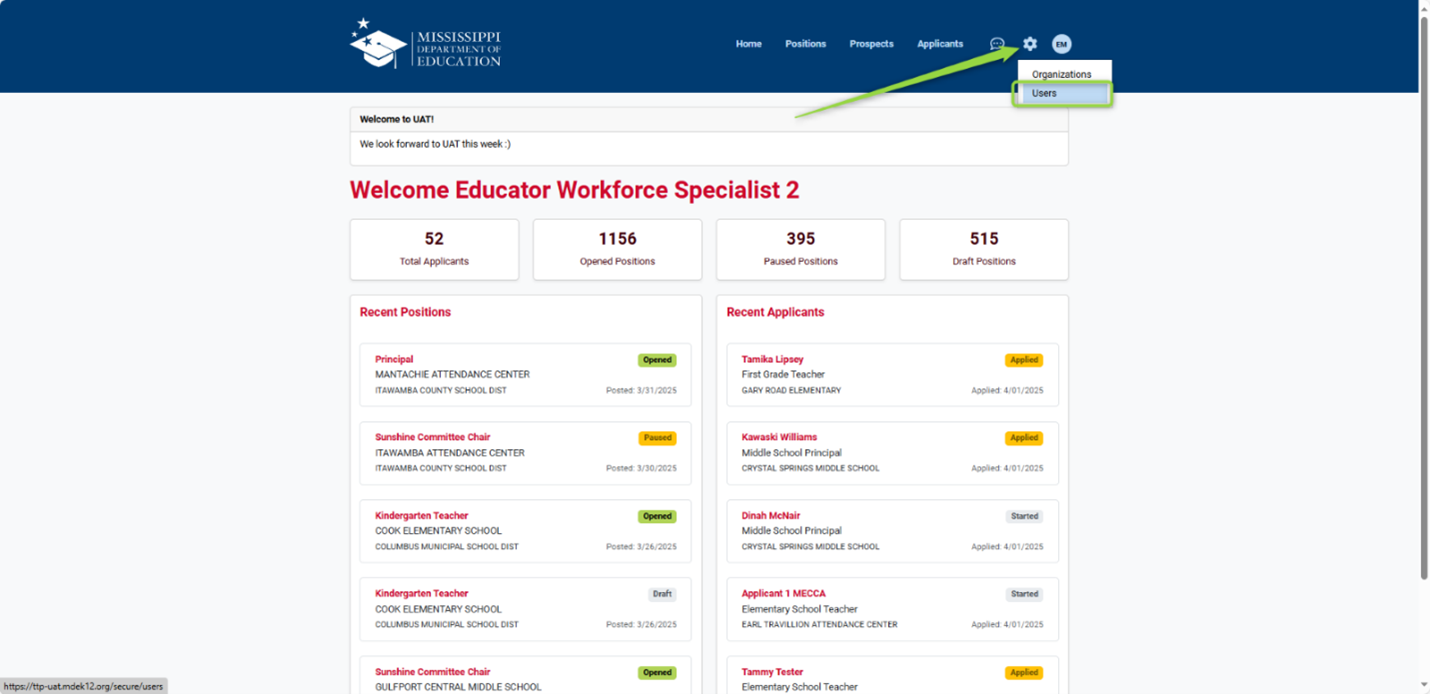
From the Users page, click the + Invite User button.

Enter the email address for the user you need to invite and choose a role from the Select Role dropdown before clicking the Send Invite button.
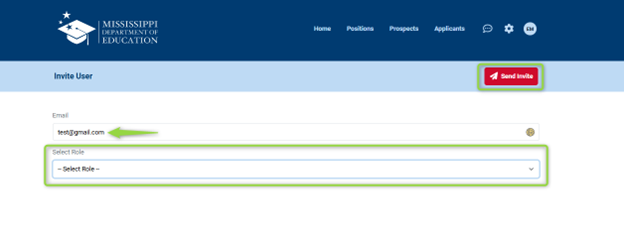
The invited user will receive an email at the address entered so that they can set up their account and log into the ETP with the given role assigned.